Friday, April 21, 2006

How To Make a Sideways Room:

Step 1. Get an empty room.


Step 2. Paint the entire room white — including the floor.


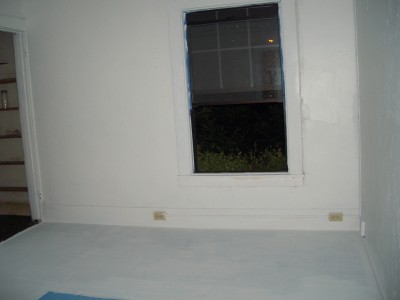
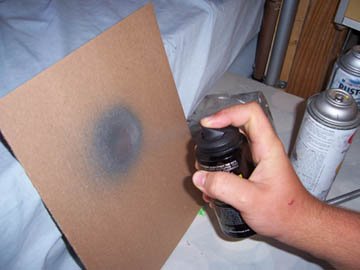
Step 3. Paint a window on the floor, just for fun. Then let the paint dry overnight. (I used electrical tape to make the window frame and bars.)


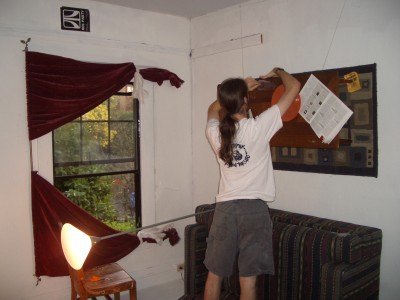
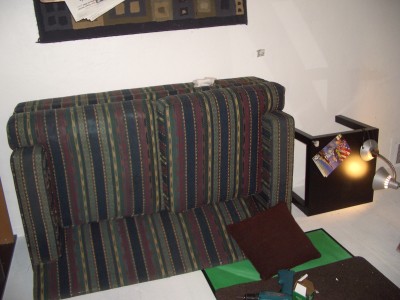
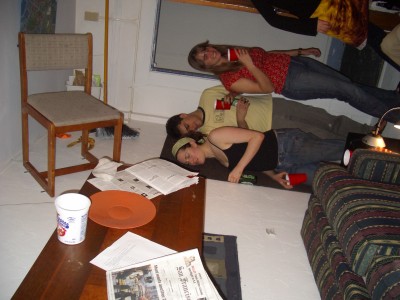
Step 4. Bring in a couch, nail up a rug on the wall, and hang a table over it (we used monofilament thread from the hardware store).


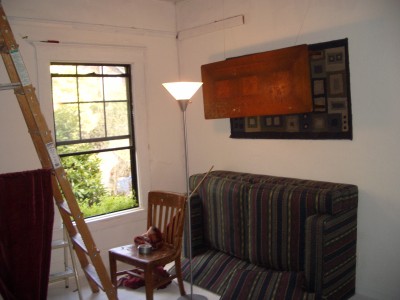
Step 5. Add a poster and a light switch on the ceiling for effect. (We also threw in a fake power outlet mounted sideways on the far wall, which you can see in the first picture up top. The other outlet in that picture, which looks much too high to reach, damages the effect — I should have painted it white.)


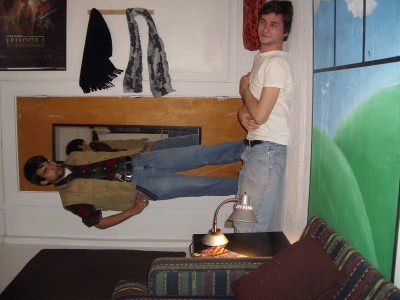
Step 6. Reinstall the curtain rod and tack up the drapes to make them hang sideways. Stick some stuff to the table in a suggestive manner.


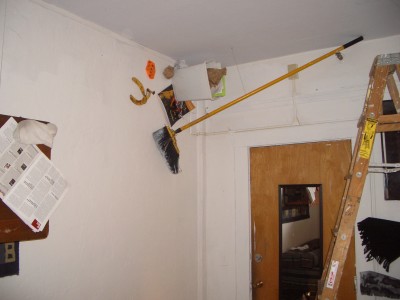
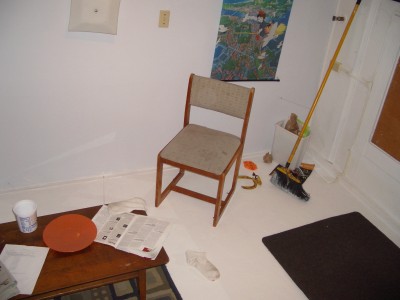
Step 7. Nail a trash bin high up in a corner of the room, and arrange some trash around it. "Lean" a broom against the ceiling (again using monofilament thread).


Step 8. Add a bookshelf and fill it with books. Also add an end table and hang a lamp on it.


Step 9. Suspend a ceiling lamp and its cord so it "hangs" sideways out of the opposite wall into the middle of the room. (Unfortunately, we don't have a good picture of this.)

Step 10. And the coup de grĂ¢ce — affix a chair high on the wall (using metal L-brackets). This one change suddenly added a whole new level of vertigo. Standing in the room began to feel like floating overhead.


Step 11. Cackle evilly. Or giggle uncontrollably. Or both.

The whole thing took two days (one day for painting, one day for arranging everything else). Hope you enjoyed this as much as we did. This project really made me want to do crazy art installations for a living.


Original Tutorial by Zestyping.

Wednesday, April 05, 2006

How To Transfer Spray Paint into Another Bottle:


  1. Find the spray paint that you want to use. Also, find the empty can that you want to transfer the paint into.


  2. Pry the cap off of the empty can. Be careful not to damage it. Your empty can should look something like this:


  3. Take the tube out of the inside of a gel pen. Rip off the tip, and blow out all of the ink. Run water through to get any ink that might be left inside out of it. Cut the tube in half, and keep the end that had the tip on it.


  4. Pull the cap off of the spray paint can. Cut it apart to get the tube out of it.


  5. Put this tube into one end of your gel pen tube.

  6. Heat up the other end of the gel pen tube.


  7. Put the heated end onto the tube sticking out of the empty bottle. Use a little bit of force to get it on, you are trying to form the tube to the right size.


  8. Take the gel pen tube off of the empty can to let it cool. Now it should look something like this:


  9. Place the end of the tube with the tube that came off of the spray paint into the spray paint can. Place the end of the tube that you modified over the tube of the empty bottle.

  10. Press in the direction of the empty bottle, opening the bottle.

  11. Press on the spray paint can, so that paint starts to move from the spray paint can into the empty can. Make sure that the spray paint can has its tip horizontal to the tip of the receiving can.

  12. Shake the receiving can often to see how full it is. Fill to desired amount. WARNING: Do not overfill. Doing so will result in paint flying all over the place.


  13. Remove the tube and replace the tip onto the now full bottle.

  14. Voila! Shake the can really well (it doesn't have the ball used in spray paint cans to mix the paint, so it will take longer than usual), and use.


TIPS:
  • Wrap the receiving can in an ice pack to make the filling faster.
  • Cover the receiving can with plastic to minimize mess.
  • If there is not enough pressure in your can, repeat the process, but with the spray paint can vertical to the receiving can. The spray paint can should be upside down (tip facing the ground). This transfers only pressurized gas into the bottle.